

by John Ogilvie
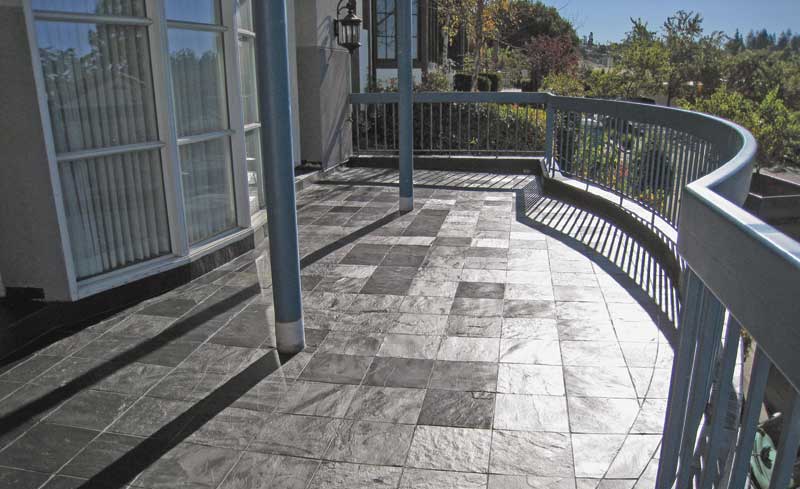
Many residential and light commercial building owners seem to believe a tile installation is waterproof, and fail to pay enough attention (or money) to the proper treatment underneath.
The resulting leaks can occur undiscovered for years, eventually causing rot that requires major renovations. Not only does the structure need replacement work, but the tile application must also be removed to access it.
The water most likely entered through cracked grout joints or on the perimeters. If the deck is in a cold climate, the moisture freezes, expands, and causes tiles to erupt. Still, a failure in the tile installation does not mean a failure in the waterproofing system. If the membrane is intact and performing its function of keeping the water out, replacing a cracked (or erupted) tile or grout joint is relatively easy and inexpensive.
This article examines some of the common reasons for tile failure, the methods for building a deck to ensure it is ready for a floor finish, and the critical installation details for long-term durability and successful waterproofing.
Installing tile on decks and balconies
There are two distinct methods of installing tile in waterproof applications: thick-set (using a 38-mm [1 ½-in.] dry mud bed) and thin-set (using a 6.4-mm [¼-in.] acrylic-modified mortar). (Medium-set mortars can be used to adjust for slightly larger variations in the substrate than can be accommodated with thin-set mortar. They are also used with large, heavy, thick, or ‘ungauged’ [varying thickness] tiles, where a thicker setting bed and a coarser aggregate may be required to achieve a flat installation and to support the tile’s weight the cement is curing.)
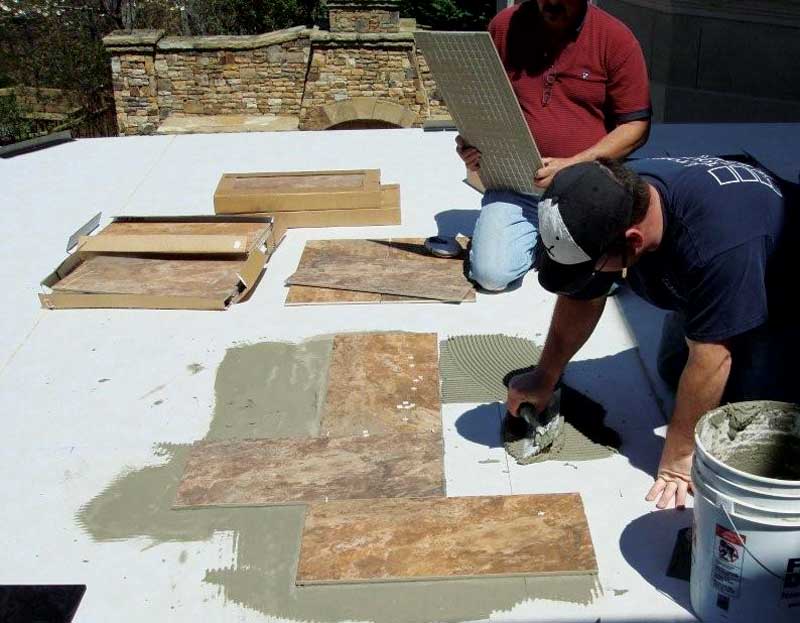
Photo courtesy Duradek
Thick-set
The thick-set method is more likely to be used where the tile is thick and irregular in order to achieve a flat walking surface. Installations (also known as ‘thick-bed’ and ‘mortar-bed’) are based on the traditional method of packing a mortar bed over a surface before installing the tile. The tile is adhered to the mortar bed either while it is ‘green’ (i.e. just beginning to dry) or after it has cured.
The mortar bed may be reinforced with wire, and either set over a cleavage membrane (that allows the mortar bed to ‘float’ free of the substrate) or bonded to the substrate. For wall applications, metal lath is mechanically anchored to the substrate and the mortar locks into it as it cures.
Thin-set
Thin-set mortar is a blend of cement, finely graded sand, and a water retention compound that allows the cement to properly hydrate. As its name suggests, the material is designed to adhere well in a thin layer—typically not greater than 4.8 mm (3⁄16 in.) thick. For example, a 9.5-mm (3⁄8-in.) notch trowel will produce that thickness after the tiles are pressed in to the cement.
While very minor adjustments in height can be made, this method is not appropriate for changing the level or flatness of a surface—rather, the tiles follow the plane of the substrate. Only ‘gauged’ tiles (with similar thickness) should be used in thin-set mortar applications.
Causes for tile failures
From deck design to adhesives to maintenance, tiles can fail for various reasons.
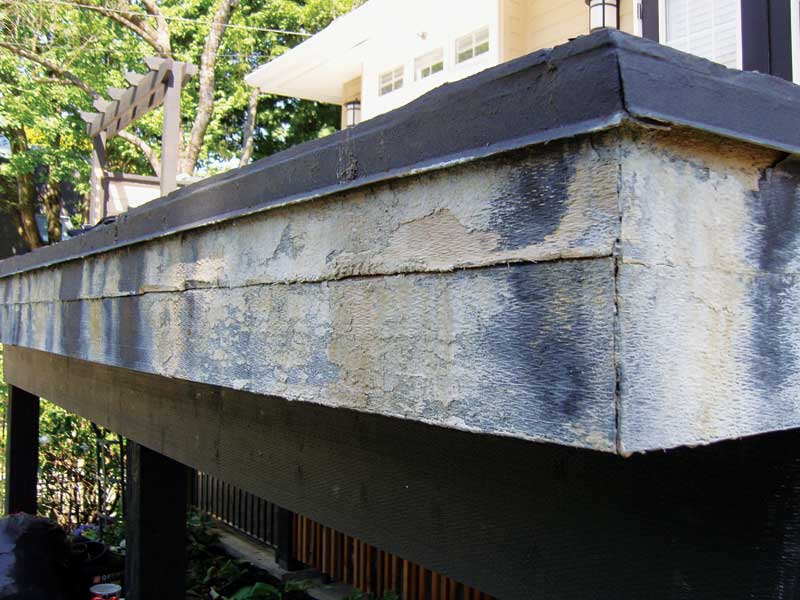
Photo courtesy Hillside Decking
Building the deck
When it comes to slope, adding drains and scuppers increases the degree of difficulty. While it can still be accomplished with good design and careful framing, the most simple and effective way to deal with water is to let it flow over the side of the deck.
Assuming the joist spacing and sizing is appropriate for a tile assembly, the choice of materials and how they are fastened together plays a large part in keeping the grout lines from cracking or the tiles from popping off. The assembly needs to be very stiff and flat and built to substantially reduce structural deflection (i.e. the spring or give of the deck surface). A total thickness of at least 31.75 mm (1 ¼ in.) is required.
One option involves 19-mm (¾-in.) plywood with a 13-mm (½-in.) cement backer unit (CBU) fastened with thin-set bonding adhesive and appropriate screws. The joints of the overlay should not be over top of the joists; they should be one quarter of the distance to the next joist. The fasteners should only be long enough to attach it to the plywood beneath (and not to the joists), allowing it to ‘float.’
Flatness is important. If there are humps and bumps, the ensuing ponded water cannot be easily resolved by later floating it with filler. Any flatness issues need to be dealt with before the waterproofing membrane is applied.


In the front of my house I have a second floor balcony off of my bedroom. The out door balcony has a tile flooring and no roof above. When it rains there is a leak coming from tiles and the drain. Water is leaking down into ceiling onto floor outside the front porch near front door on ground level.
I have the same problem as Michael Lawson