

Some sort of reinforcement, (e.g. fiberglass scrim) is a good option to help with durability and consistent thickness, as the mesh needs to be fully embedded and covered by the fluid-applied membrane. The back dam for these can also be made of plywood or continuous blocking, depending on the window attachment, with the membrane turned up onto that surface. Fluid-applied sill pan flashing is also common below window wall systems within a slab depression as discussed in Part 1. Here, the membrane will extend up the backside of the depression, creating a bathtub effect below the window wall system. In either case, all fasteners and penetrations going through the fluid-applied sill pan need to be sealed to prevent leaks to the interior.
Membrane wrapping rough opening
One of the most common sill flashing details in construction does not even include a dedicated sill pan. It simply consists of the sheet membrane (i.e. sheet membrane flashing) wrapping the rough opening of a punched window and terminating horizontally on the rough opening surface.
Contractors often suggest this as it is shown in the manufacturer’s typical detailing, with the addition of interior and exterior sealant joints (note: the waterproofing surrounding the fenestration is not warranted by the window manufacturer and therefore, they do not own that trade or responsibility). This relies only on an interior sealant joint to act as a back dam and prevent any water or air that leaks through the window from getting to the interior. This setup will likely pass an initial window water and air test, but sealant joints will not be as durable as a flashing (metal or membrane) and are more workmanship sensitive. Over time, the sealant may debond or become damaged, eventually allowing leaks to the interior. This method does not have any backup measure compared to other methods which include a dedicated sill pan below the entire window unit.
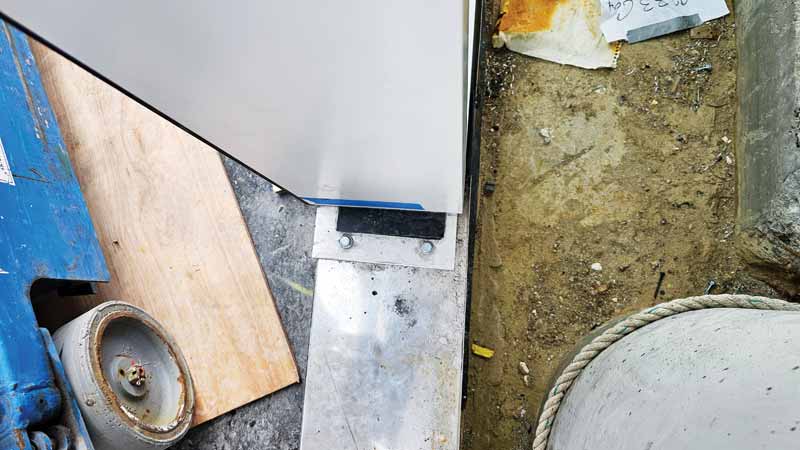
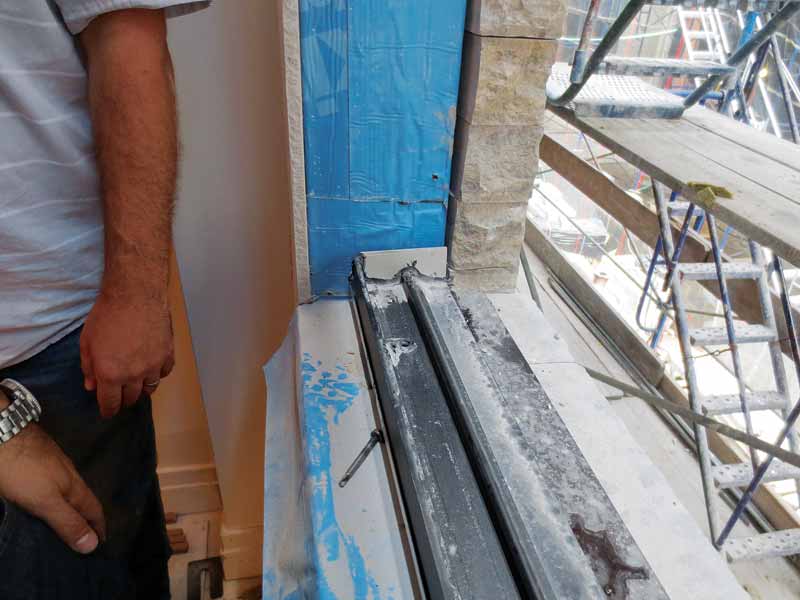
Fastening through sill
If the project makes it through design and into construction and a metal sill pan is installed as part of the fenestration installation, considerations need to be made to not have the window anchors fastened down through it. If the metal sill pan is part of the installation, an alternate method of window anchorage needs to be reviewed, approved, and ultimately installed independent of the horizontal sill surface to maintain the integrity of the sill pan flashing. It is recommended the window be anchored through the vertical leg of the sill frame to avoid horizontal penetrations, with tapered shims for dead load support.
In a typical curtain wall system, anchors are installed in the dry zone, therefore not requiring a sill pan to extend the full depth of the system. Installing flashing inboard of the wet zone provides no benefit, both because of the lack of exposure to water and the multiple penetrations that occur at each vertical mullion anchor. The sill pan should be made an integral part of the drainage system and does not need to extend beyond the glazing pocket.

