

The building blocks of the specification
There is a misconception specifying a door mainly applies to Part 2–Products. In reality, each part is essential to ensuring the correct hardware is applied and functions in the exact manner intended. In fact, this author argues Part 3–Execution is the most essential when it comes to proper door installation.
The following paragraphs sum up what design professionals need to know about each section.
Part 1−General
This part is specific to administrative requirements and is primarily procedural in nature. It details requirements specific to the section, typically including articles on quality assurance (QA), warranty notes, submittal requirements, and other related documents.
Part 2−Products
The meat of the document, this part has to do with products, hinges, push plates, pull plates, locks, and gasketing. Every single item imaginable will be detailed here. Specification writers usually include paragraphs or articles that describe the specific requirements for each product and outline how each is to be applied. Typically, at least three competitive brands will be listed so the owner or architect has options. It is also best to keep in mind the initial discussion where the architect provided information on the budget and quality of products desired.
Part 3−Execution
This is where the spec writer gets down to business, identifying exactly how all the hardware should be installed. For example, if thresholds have to be set a certain way, those requirements are here. Other key areas include:
- examination for adverse conditions;
- field quality control (QC) post-installation; and
- plans for adjusting, cleaning, and protecting the door hardware.
The door schedule, or hardware groups, comes at the end of this part.
Common complications
Part 2 may be the meat of the document, but when it comes to ensuring optimal door performance, Part 3 becomes essential. This is where specific notes about installation are outlined and, when followed, can ensure proper door performance. When not followed, common problems arise.
For example, self-tapping screws are a hot item that might need to be covered in Part 3. Contractors love these screws because they save time thanks to a cutting head on the tip that cuts into the door frame, allowing them to shoot right in. However, those screws can also often result in stripping of the mount. It is best to use the manufacturer’s supplied fasteners.
It is also common to use self-tapping screws in kick plates. This author always specifically states in specifications to not use these unless the manufacturer provided them.
On paper, things like these might appear trivial, but specific details are what ensure hardware gets installed properly. Nearly 95 percent of the time, when commercial products are not working properly in the field, it is because they were not properly installed.
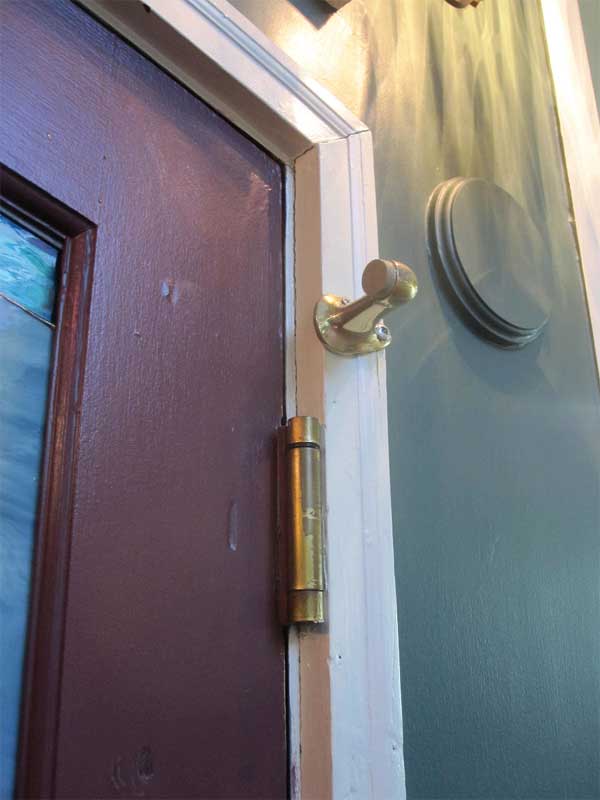
As doors are one of the few moving parts on a building, they are subjected to more wear and tear over the years. Therefore, it is critical all the pieces are installed and working correctly from day one. This begins with how a door is hinged and hanging.
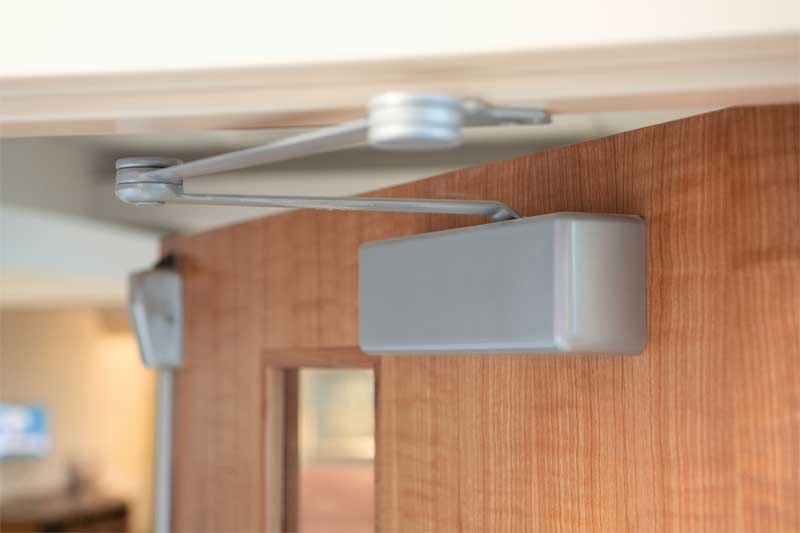
Door closer installation is one of the most critical things that needs to be right. If it is poorly installed and misadjusted, everything else is as risk—a slammed door could cause the frame to come loose. When the occupants open a door, if the backset adjustment valve on the closer is closed down all the way, the door will stop suddenly and wreck everything else on the door. The hinges will get overstressed and the door will start to sag. The mounting brackets will get pulled loose. The latch or lock can break.
Improper installation of a single piece can lead to the entire opening failing. Specification writers do what they can to list everything as the manufacturer’s instructions state. Nevertheless, at the end of the day, the responsibility is in the hands of the person installing the device. The point here is problems
can ensue when specification instructions are not followed to the letter.
Another common area where problems arise is with gasketing. For example, a door closer is installed with a parallel arm most of the time. It has a bracket mounting to the top of the door frame at the head, specifically on the stop of the frame. The problem is that if someone is trying to apply gasketing along that head, it falls exactly where the parallel arm bracket mounts to the frame. The installer will attempt to install around that, so the gasket stops and there is no gasketing around the bracket. The proper solution is to use a special type of gasketing that is put on first, then the parallel arm bracket is mounted to it. Including this level of detail in the specification can help avoid similar mistakes.
The aforementioned bothersome self-tapping screws also present issues with gasketing. When weatherstripping is needed at an opening, it is common to want to use these for quick installation. Quite often, mortar behind exterior door frames prohibits the use of self-tapping screws. The installer will then strip
out the screw or it will not be able to penetrate the concrete to fasten the hardware to the frame.

