

Thermal shock
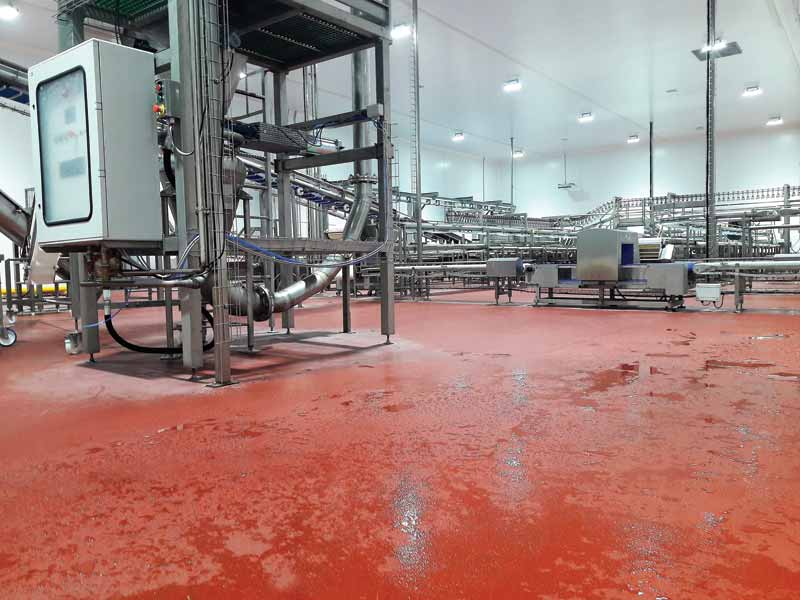
Being wary of thermal shock situations is also critical, as different coating resin chemistries have varying resistance to high temperatures. With thermal shock, ambient-temperature or cold floors may encounter sudden exposure to high heat from hot water wash downs (Figure 9), open bottom ovens, or drips from a kitchen fry line. The high temperatures can cause flooring materials to expand rapidly, creating extreme stress at the concrete/coating bond line. If the flooring system is not resistant to thermal shock, the stress may be too great for the bond to hold, causing it to fail. Choosing a flooring system that mirrors the thermal expansion and contraction characteristics of the concrete, such as urethane concrete, is crucial.
Dew point moisture
Some floor failures are caused by dew point moisture, which occurs when water vapor in the air condenses. When poured, this moisture may become trapped under the coating system, causing potential problems. For example, urethanes, polyaspartics, and polyureas can react with the trapped moisture, resulting in the coating film trapping carbon dioxide (CO2) gas and foaming. This can produce microbubbles in the coating’s surface and lower its gloss and chemical resistance. To avoid these issues, applicators must install flooring when environmental conditions are acceptable. This means closely monitoring surface temperature, air temperature, and humidity levels. Sometimes using a fan can help by creating enough air movement to assist with evaporating the moisture.
Dew point moisture can also affect epoxies by making them cloudy or milky, altering their aesthetic, especially with clear finishes. In high humidity, epoxies can exude an amine blush which leaves an oily residue. If not removed, the residue will prohibit the chemical bonding of the next coat.
Intercoat delamination
Intercoat delamination is another possible failure. It happens between different coating layers within a system and is usually caused by either missing a coating’s recoat window or surface contamination. A recoat window is the period in which one coating can be applied to another and still achieve a chemical bond. Since coatings are typically dense and glossy, it is tough for one coating to stick to another if the recoat window has passed. If the window has expired, then installers must sand the previous coat to help establish a surface which will enable a mechanical bond between the coating layers. A published recoat window may indicate a specific time frame based on the environment’s ambient temperature and RH. Both environmental variables can change the cure times of the resins, and other factors may also affect the recoat window. For example, an area exposed to heat or sun may cure faster, reducing the prescribed recoat window. A visual sign of missing a recoat window is when both surfaces—the bottom of the peeling topcoat and the top of the lower layer—are glossy, suggesting there was never a chemical bond.
Contamination
Contamination is another primary reason for a floor coating to experience delamination. For example, shoe residue deposited via foot traffic,
as well as wind blowing debris and dust into the building, can contaminate the floor. This can happen before, during, or after application, producing undesirable results. Following proper surface preparation protocols and meeting coating recoat windows can help minimize the risk of failures related to contamination.
Cracks and control joints
Potential floor coating failures might also be attributed to concrete cracks and control joints, whether there is controlled cracking (via control joints) or random stress cracking. Since cracks can appear anywhere, installers should use fillers and reinforcements to bridge over them. Installers have several options, one of which includes routing out cracks by 31.7 mm (1.25 in.) and filling the voids with a flexible resin. The movement from the crack will be spread out over the filled area, reducing stress on the surrounding concrete. Even better, installers could add a 304.8-mm (12-in.)-wide flexible membrane to spread the crack movement over a wider area—152.4 mm (6 in.) on either side of the crack. Finally, the best option is to install a membrane over the entire flooring surface using
a fiberglass scrim. Going to this length will help mitigate any unidentified cracks at the time of installation, provide the best crack suppression, and deliver the added benefit of waterproofing.

