Reconciling promise and reality with thin porcelain tiling
At this point, there are no international (or even national) standards guaranteeing the performance of thin tiles. There is an effort by the Tile Council of North America (TCNA), working with the International Organization for Standardization (ISO), to produce a standard similar to ISO 13006, Ceramic Tiles–Definitions, Classification, Characteristics and Marking, as quickly as possible. However, it will still be a few years before this would be published. In the meantime, guidance is needed regarding the three biggest tile-installation questions plaguing the industry:
This author’s company embarked on a research strategy that first focused on finding the best ways to actually install tiles using floor installations as the model. At the same time, work was conducted to look at the best-suited setting materials to better promise success in the real world, where floors would be subjected daily to thermal and mechanical forces. Once the installation materials and methods were standardized, it was possible to look at how the tiles themselves would hold up under load, again using floor installations as the model.
The right tools and methods for the job
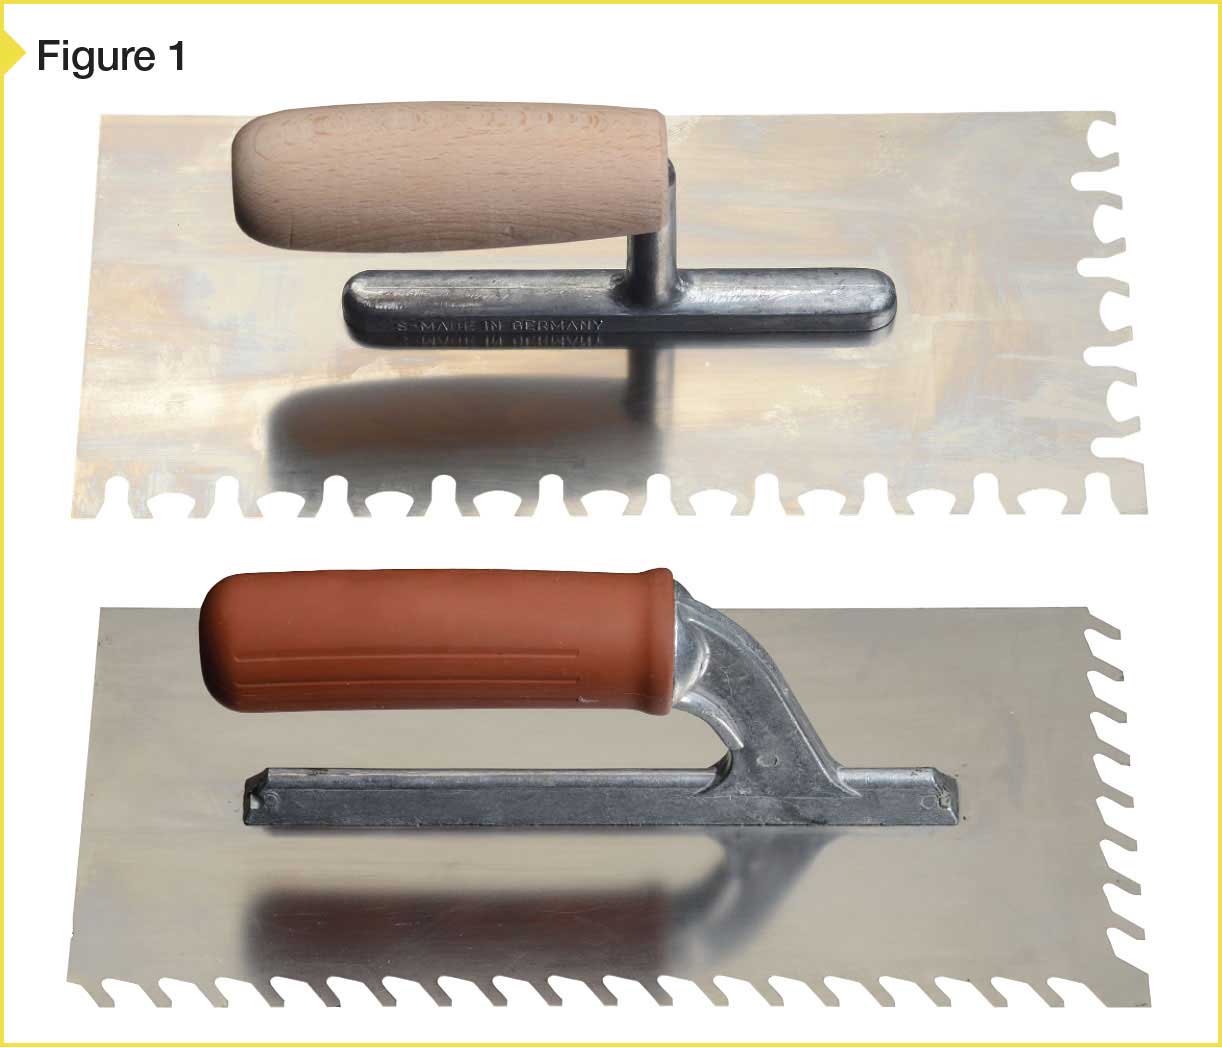
As part of the effort to develop consistent methods to install thin tiles with high mortar coverage to support the installations, a wide variety of trowel types were tested. Out of many, two emerged as the best in class for these installations.
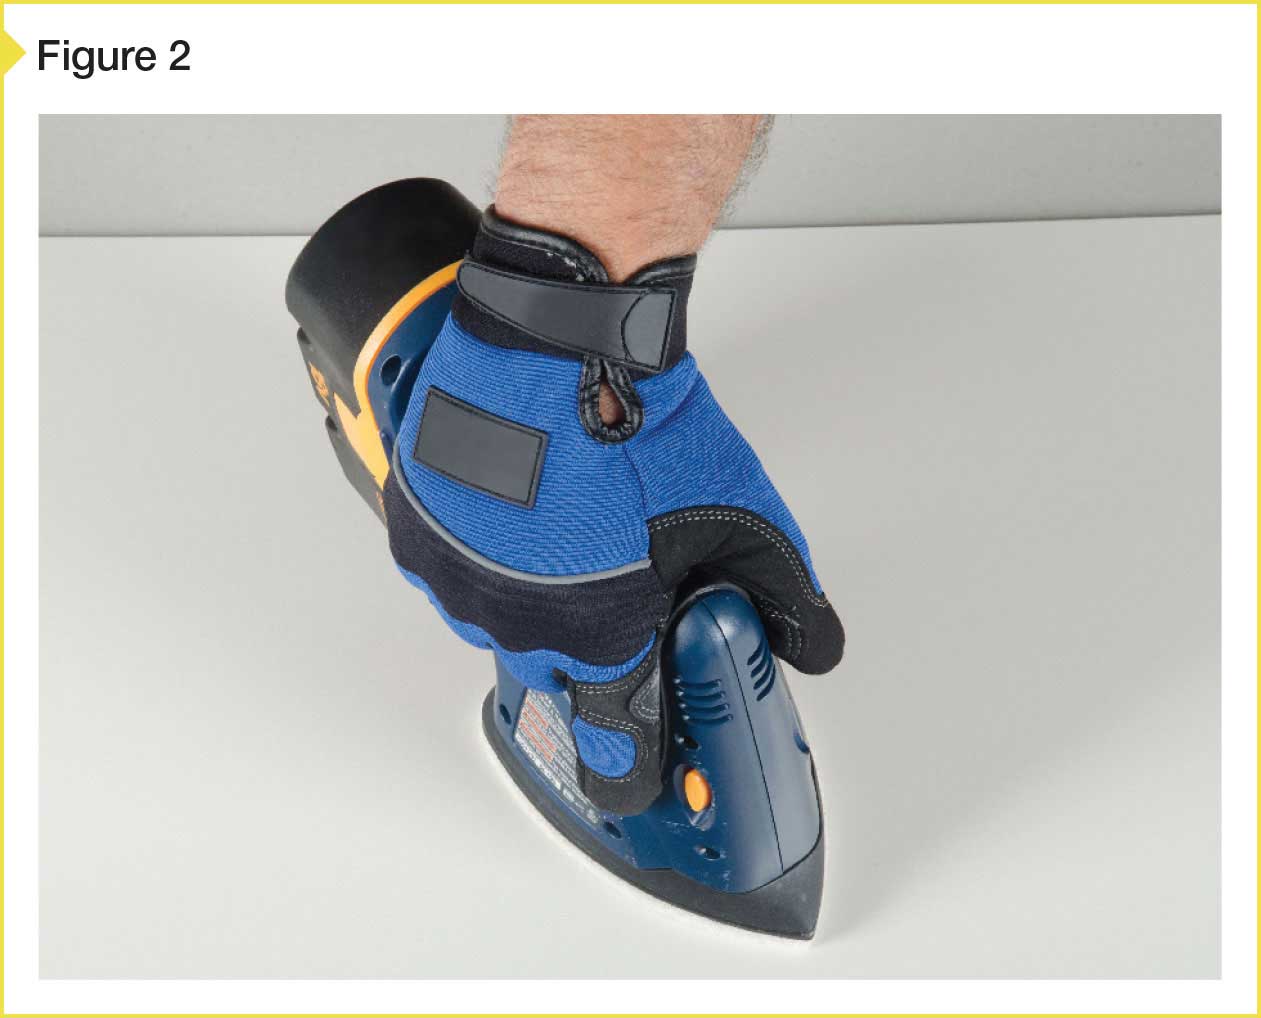
Shown in Figure 1, these trowels gave the highest percentage of coverage for the tiles. As part of the installation strategy, the tiles were always back-buttered using the same trowel; the mortar lines on the floor and tile were aligned parallel for maximum air release and coverage. Researchers found a small, hand-held orbital sander, for vibrating the tile into place, maximized the result and minimized stress on the installer (Figure 2).
For every installation, both horizontal and vertical, the best results were obtained when the substrate was properly prepared (i.e. very flat) and a tile-leveling system was used. Flatness of the floor or wall must meet TCNA Handbook guidelines for substrate flatness: a maximum of 3.2 mm (1/8 in.) deviation in 3.1 m (10 ft) as measured by a straight edge for any tile that has any one dimension longer than 381 mm (15 in.). Specifying that the tile contractor and/or GC plan for the needed substrate preparation in the bidding process was found to be a key to a successful, cost effective installation.
The advantages of leveling systems in reducing lippage during installation and making the final appearance acceptable to the customer were also found to be too huge to ignore. Many tile-leveling systems are now commercially available and provide choices to the installer that can best accommodate their workflow and specific installation practices.
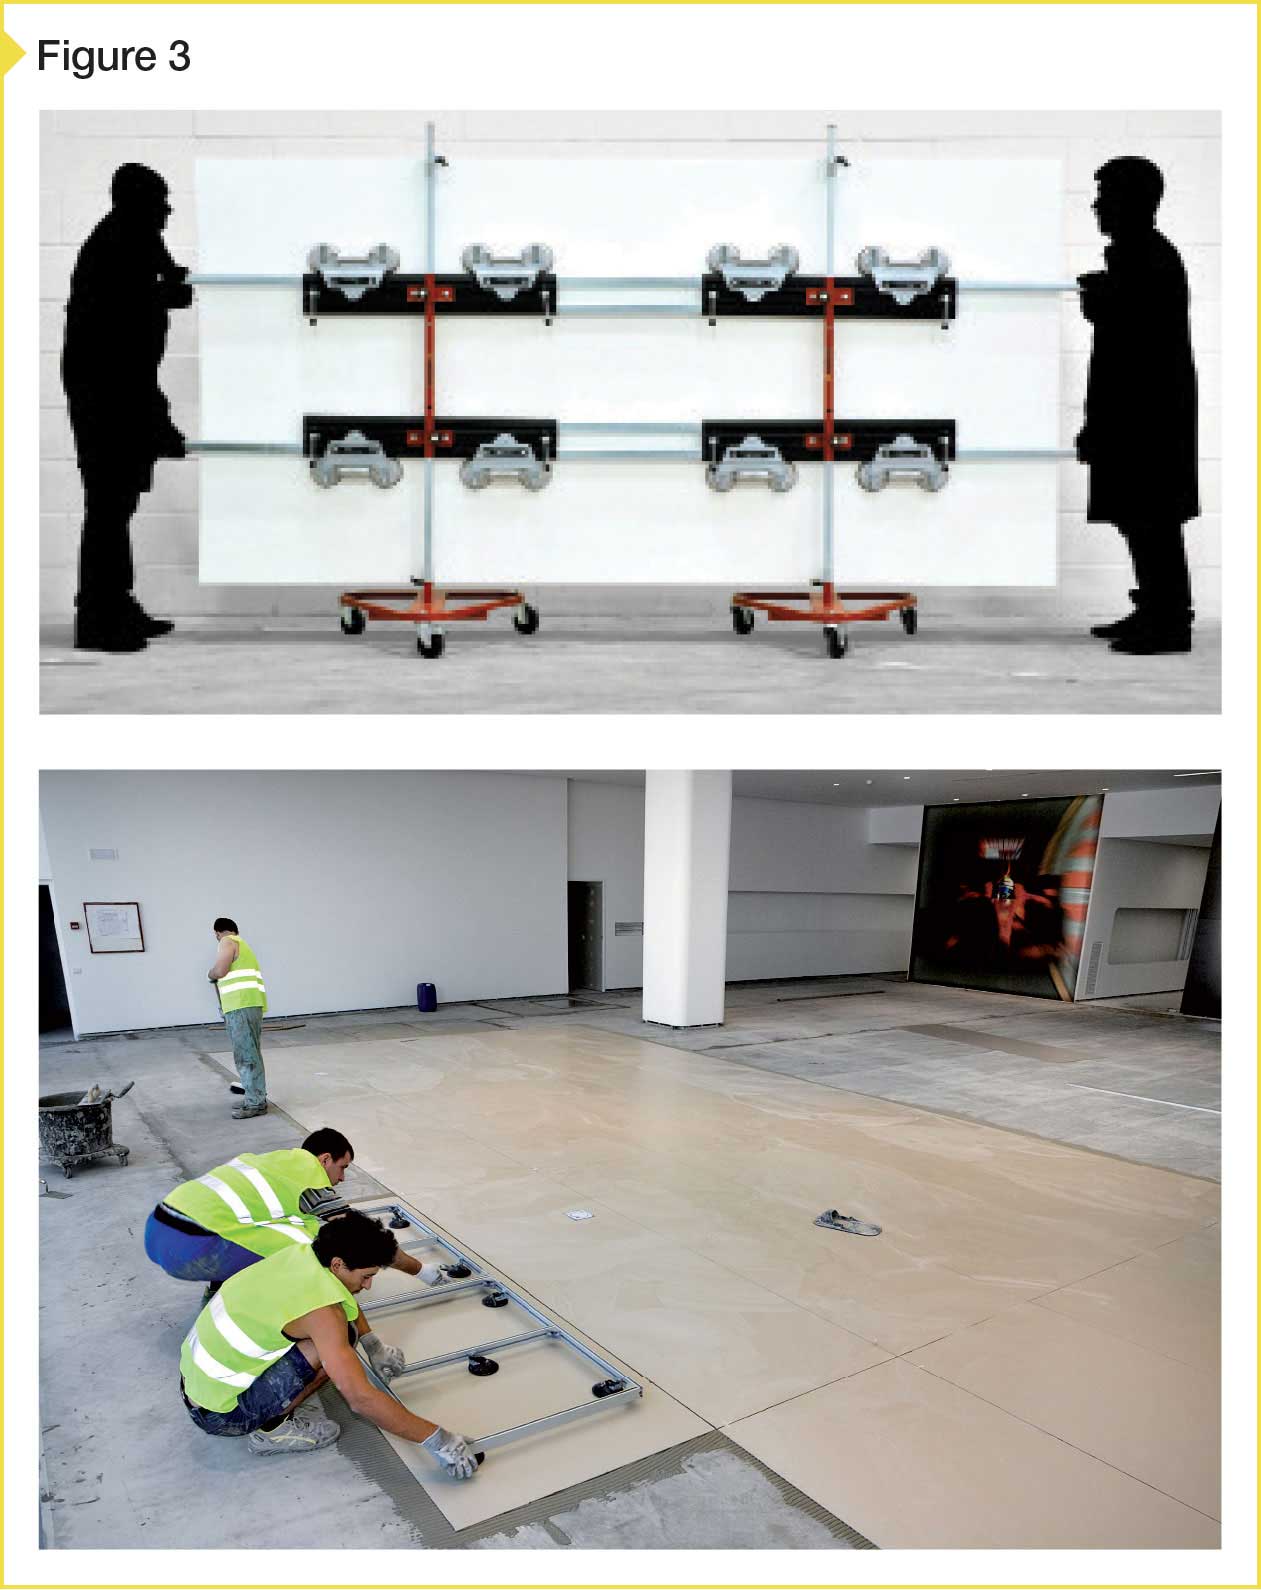
The largest tiles also require special racks and frames that support the whole tile and allow a two-person installation crew to manage its installation (Figure 3). The racks are available through tile-distributors, and should be considered if very-large-format installations are planned.
Determining the proper mortar
During the development work, various mortar products were evaluated as part of the screening process to find the best recommendations to share with the market. The harsh conditions experienced by both floor and exterior vertical installations were used as guidelines for the stresses that must be survived in successful real-world installations.
Using both practical tests, as well as sophisticated computer simulations, researchers determined the mortars best-suited for the installation of thin tiles should be high in quality with a level of performance commensurate with at least C2S1 (i.e. improved-adhesion, deformable cement mortar) under ISO 13007-1, Ceramic Tiles–Grouts and Adhesives Part 1: Terms, Definitions, and Specifications for Adhesives. Mortars with the ISO 13007-1 Thixotropic (T) rating were also found to be useful. For extreme conditions with exterior thermal exposure or freeze thaw conditions, an ISO 13007 C2S2 (i.e. improved adhesion, highly deformable cement mortar) product is even better for thin tile installation.
The test procedures used in ISO 13007 were developed over the past 15 years and include the most comprehensive set of tests in the world for measuring the overall strength of a mortar under real-world conditions. Under the ISO 13007-1 system, a cement-based mortar is able to achieve a C2 (improved adhesion) classification only if it is able to maintain a tensile pull strength greater than 1 N/mm2 (145 psi) under room temperature, freeze thaw, water immersion, and 70-C (158-F) heat age. The deformability to give the S1 rating uses a specially designed slab of the mortar and measures its deflection before breaking to predict the flexibility. An S1 has to be able to bend 2.5 mm (0.1 in.) under the test conditions; an S2-rated mortar can bend at least 5 mm (0.2 in.) under the same conditions. Higher deformability requires a higher polymer content in the mix to adapt to the flexibility and adhesion requirements for the application.
Sign up for our weekly newsletter
Architectural materials and methods delivered right to your inbox
- CSI News and Notes: CSI Foundation’s construction camp; CSI spring exam; and more
- CSI News and Notes: CSI’s credentials; CSI conference theme; and more
- To be specific – CSI supports young AECO professionals
- CSI News and Notes: CSI’s foundation scholarships, national conference, and Crosswalk
- CSI News and Notes: AI’s impact; CSI 2024 conference, and more

Read the Latest Issue