

The bulk of the masonry work was done during the winter. A proprietary accelerating, water-reducing admixture (WRA) for concrete that did not contain calcium chloride or added chloride ions was added to the mortar to accelerate its set time in cold weather. This technique allowed workers to install the CMU backup walls during the winter, keeping the project moving on schedule. Additional work on the structure’s exterior included restoring the top chimney bricks and installing a new mortar cap with a positive slope.
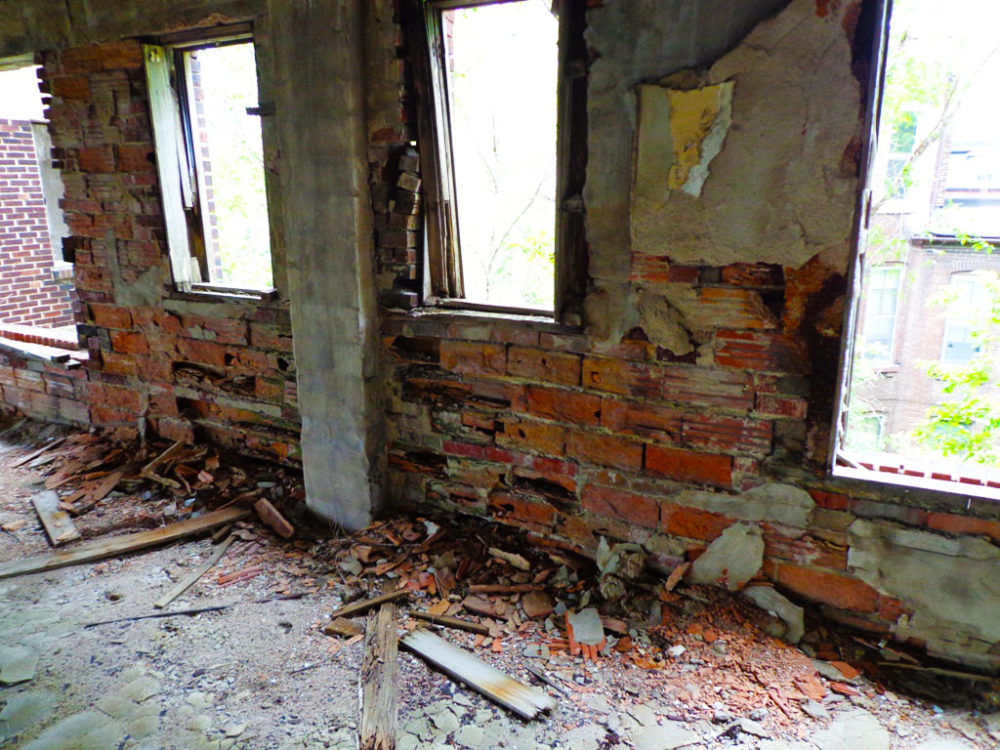
A silicone elastomeric coating was applied to 20 cornice units to waterproof and cover spider cracks. Repairing fire damage to its existing skim coat was accomplished by sounding the wall first, then removing any damage using a chipping hammer. The exposed rebar was coated with a standard anti-corrosion coating; then a fiber-reinforced, quick-set patch material was applied, followed by a coating of a special type of concrete repair mortar.
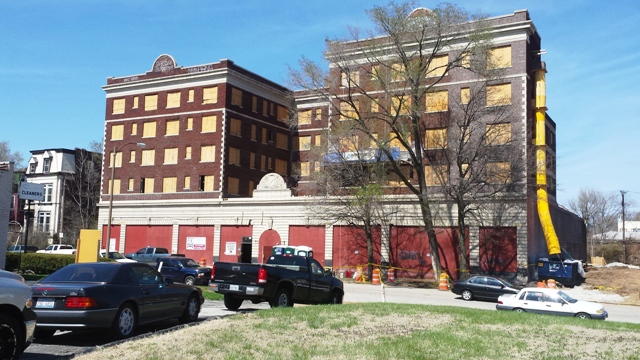
The onsite crew used suspended scaffolding, aerial lifts, and traditional scaffolding to access the various areas of the building’s façade.
A thorough cleaning
The concrete/masonry restoration was completed by thoroughly cleaning all the brick, terra cotta and concrete on the building’s exterior. Specifications called for using a non-aggressive detergent including bleach and trisodium phosphate (TSP)—a formulation employed in order to kill mildew and remove its characteristic stains. The detergent was brush-applied to a wet wall, and then
power-washed.
Crews used a heavy-duty, fast-acting restoration cleaner and high-pressure water to remove graffiti from the exterior of the facility. The bricks’ matte finish made total graffiti-removal difficult—therefore, numerous applications of the restoration cleaner was used to get the job done. Afterward, a water-based silane/siloxane water repellent was applied to the building’s façade using sprayers.
Restoring the terra cotta storefronts
The final stage of the project involved restoring the building’s original terra cotta storefront pieces. More than 140 damaged pieces were removed and replaced with glass-fiber-reinforced concrete (GFRC) replicas. Full replacement pieces were made from the mold from an existing “good” or sound piece of terra cotta and others were repaired by using a patching compound, followed by a silicone elastomeric protective coating.
Craftsmanship was the key to restoring the terra cotta storefront. The first step in the process was removing loose or delaminated pieces; pins were added to the original piece to provide additional areas for adhesion, and lifts of repair material were then installed until the restoration was flushed with the original surface. If the piece was split in half, an epoxy was used in order to ‘glue’ them back together, followed by a patching compound.

