

The exterior walls of ‘historic’ buildings are typically constructed of multi-wythe masonry, which controls rainwater by absorption and evaporation. This type of assembly does not have internal drainage and often lacks flashings at critical locations (e.g. window heads), making them susceptible to leakage as the mortar joints deteriorate over time or during heavy, prolonged storm events. Embedded steel in the masonry walls can rust and ‘exfoliate,’ resulting in masonry cracking and bulging, along with increased water entry into the wall system.
Typical repair is to repoint the masonry and perhaps apply a clear coating over the exterior to reduce water absorption. This option maintains the building aesthetic and can slow water entry, but may not solve the leakage problems; it also requires routine maintenance to remain effective. An alternative that maintains the aesthetics while reliably addressing leakage problems is to rebuild the wall as a masonry veneer with waterproofing and drainage behind the outer wythe.
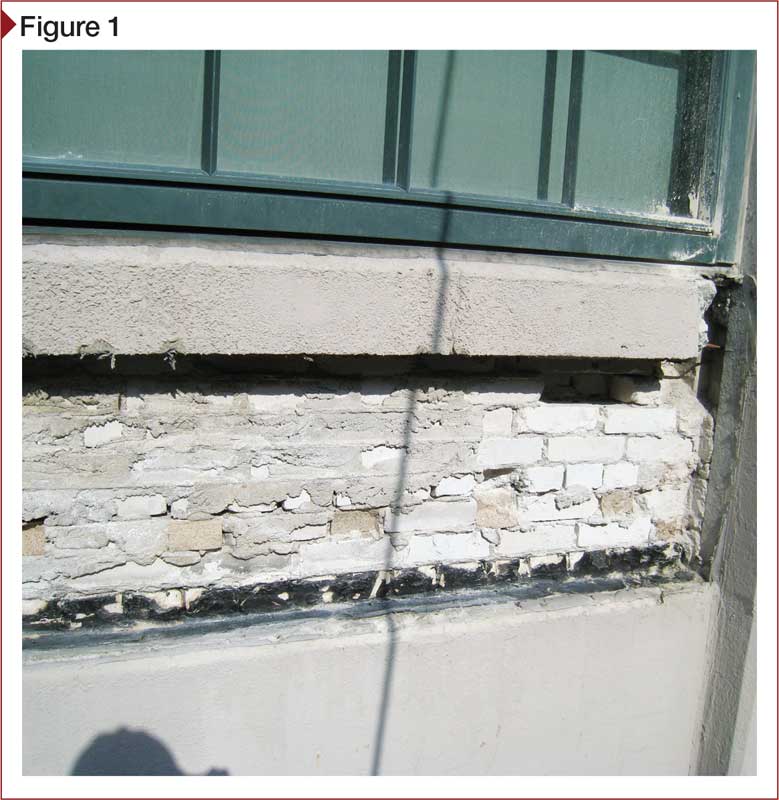
When changing a multi-wythe masonry wall to a veneer assembly, designers must consider key issues, such as the existing wall structure’s capacity to resist lateral loads, providing space for the waterproofing membrane and drainage, and re-establishing lateral ties between the veneer and backup. Also, changing an historic multi-wythe masonry wall to a masonry veneer wall is an invasive repair and, therefore, should be carefully considered so as not to change the aesthetics or original architectural intent of the historic building (Figure 1).
Design considerations
The general procedures for reconfiguring mass masonry to veneer are relatively straightforward:
- Remove the outer brick wythe (while keeping inner wythes in place).
- Structurally reinforce the inner wythes.
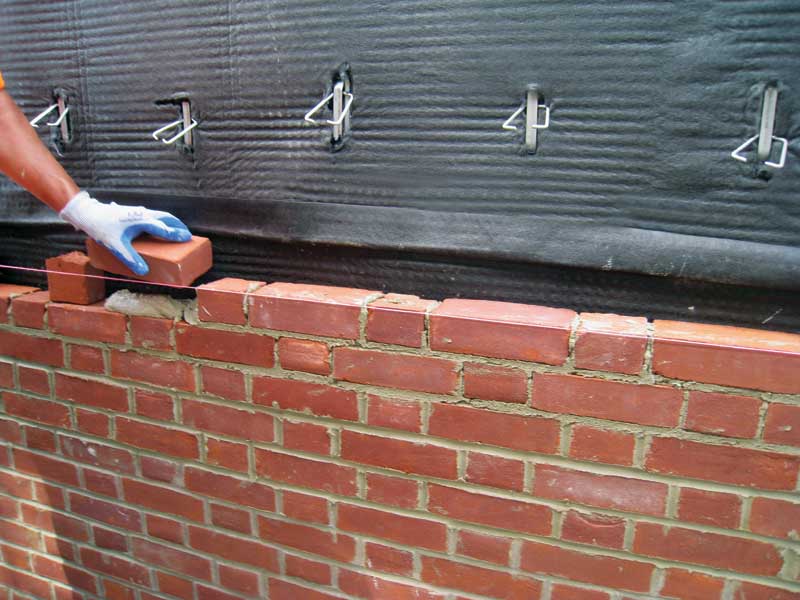
- Install waterproofing membrane and drainage mat (or leave a cavity space).
- Reinstall the outer wythe as a veneer.
The devil, of course, is in the details. Several factors must be considered, including:
- structural loads;
- allowable cavity space;
- aesthetics;
- building use; and
- project cost.
Structural loads
Multi-wythe masonry walls typically consist of three or more masonry units acting compositely by being attached with header bricks or metal ties and mortar collar joints. At a minimum, these walls support their own weight and resist the lateral loads (i.e. wind loads) of the walls and windows.
In some cases, the walls may also act as bearing for structural framing for floor beams or roof rafters. Changing the outer wythe of brick to a veneer so it is separated from the inner wythes by a waterproofing membrane and a cavity space reduces the wall’s structural capacity. As a result, the inner wythes in most cases will need to be reinforced with steel. Further, the quality and soundness of the inner wythes should always be assessed; in some cases, they will need to be completely replaced. In this case, a reinforced concrete masonry unit (cmu) or steel-stud backup wall may be appropriate.
The first step is to determine the load path for the various structural elements that interface or bear on the exterior walls. Before the 1920s, mass masonry walls often supported the floor and roof loads. Reconfiguring these walls will likely require significant shoring during construction. More recent mass masonry buildings used embedded steel or concrete framing to carry these loads.
The second step is to determine how to either change the existing load path of the walls, windows, and/or roof to another part of the structure, or to determine how to reinforce the existing inner wythes to support the loads within the reduced wall width.

